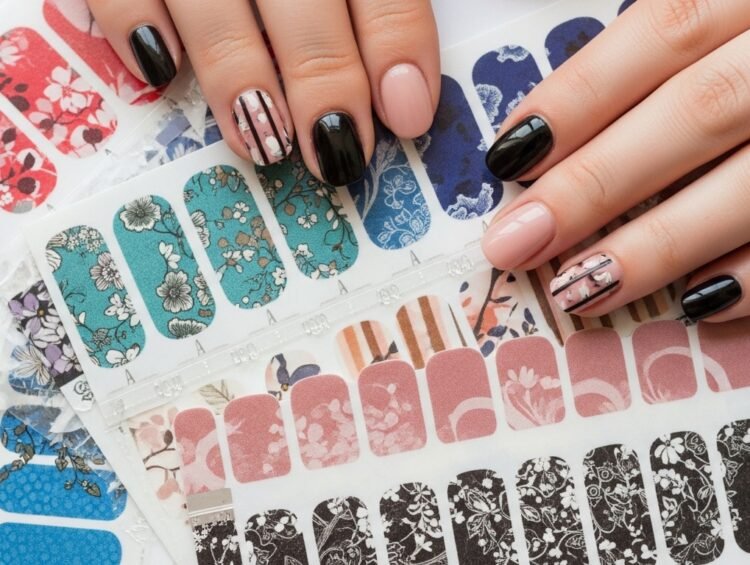
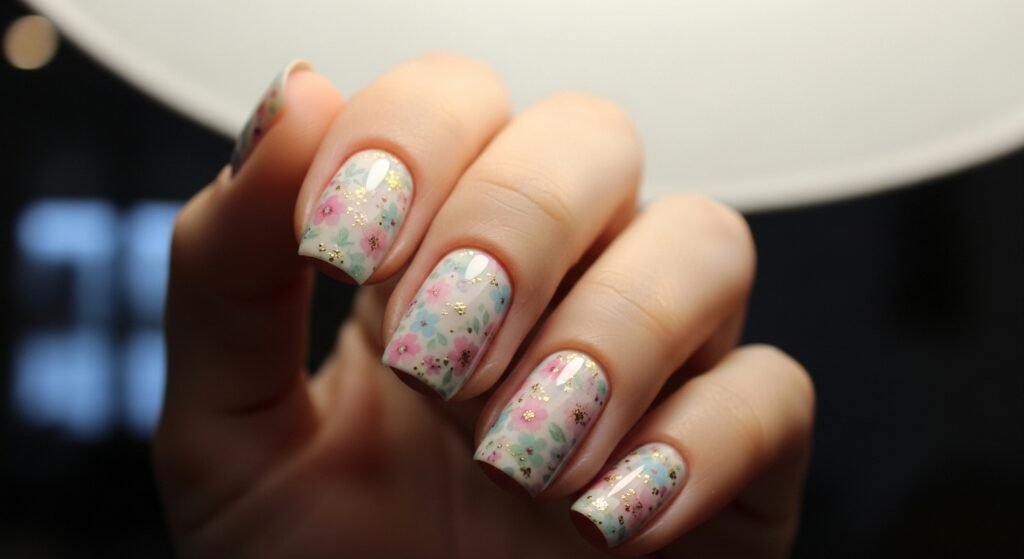
The increased popularity of DIY beauty has been witnessed as people desire cost-effective ways of achieving the results of the salon appearance at home. One of such a trend is said to be nail wraps which is not only convenient but also enables one to show creativity. These are thin decorative pages on which you place your nails offering in-depth designs without the precision of polishing or a drying time. Going an extra mile ahead you can create your own nail wraps and select your own design, colors and finishes, to suit you in the mood or outfit and so on. With these simple supplies and a low level of patience, DIY nail wraps can even transform your nail-painting experience into a quick, fun and highly customized beauty treatment.
Gather Your Supplies
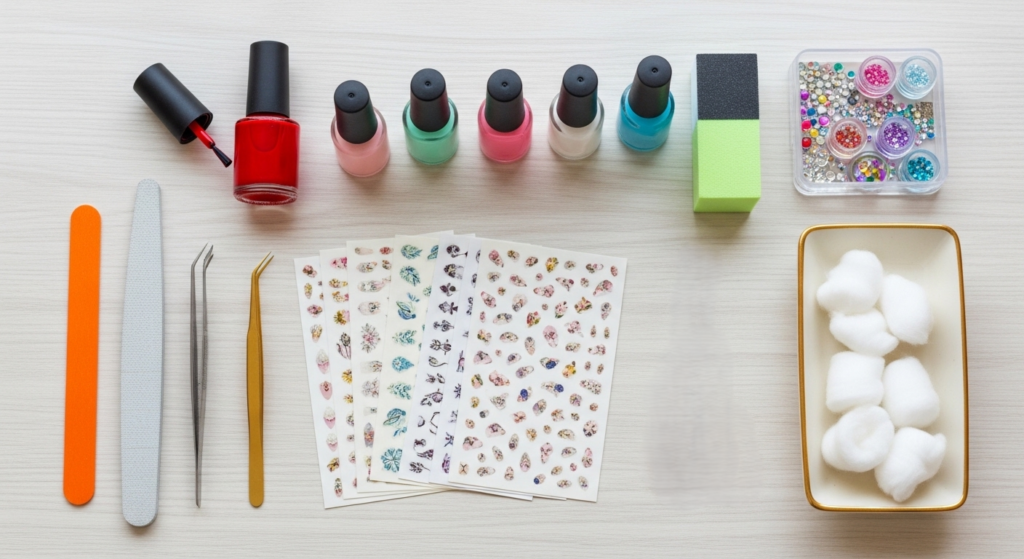
Arrange the different items such as a top coat, a pair of tweezers, a set of nail art paper or stickers, small scissors, and nail polish among the necessary things that one should have ready prior. It is always good to have everything ready before you handle the task in order to make sure that you do not commit any mistakes because of hurrying.
Prep Your Nails
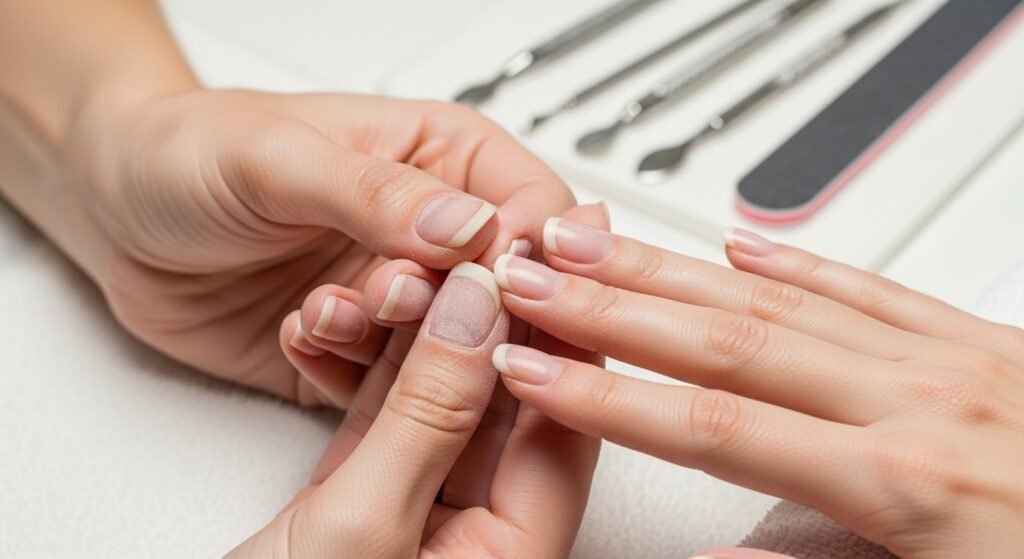
Clean and dry nails should be used, as there should be good adhesion. Apply polish carry away old polish, press cuticles down, polish surface of nails a bit. This will help in wrapping stick in a straight manner and in extending wrapping life without lifting up the ends.
Create a Polish Base Sheet
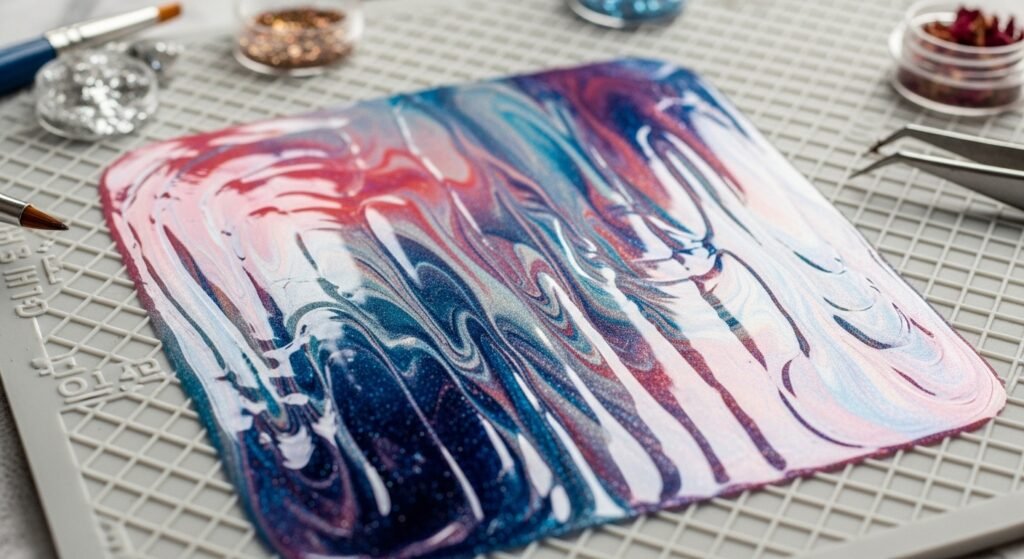
Apply a type of nail polish (crystal clear or any color you want) on a plain pieces of plastic or silicone mat. Let it dry partially then it will become both soft and not completely hard. It will be the staple of your custom wraps.
Add Designs and Patterns
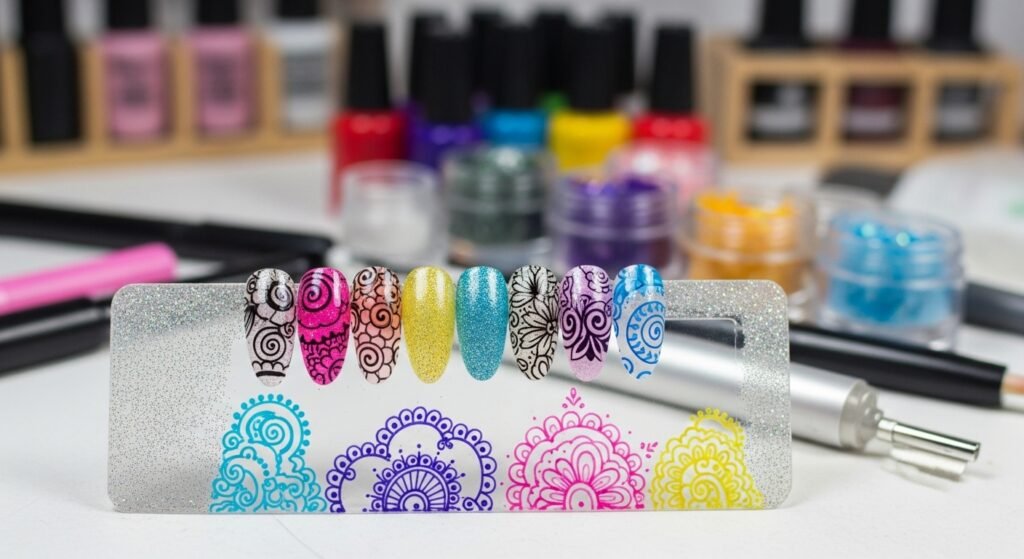
During the stage of the polish sheet where it can be peeled, the stage can be adorned using nail art pens, glitter, stamping tools or using other polish colors. It is here where one should be creative – experiment with abstract swirls, flowers, rectilinear or minimalist decorations.
Allow Proper Drying Time
The patience is the most significant factor in regard to drying. When the sheet becomes too wet it becomes torn and when it gets too dry it breaks. Achieve a rubbery touch that rubs out and is as well flexible to shape on nail.
Cut to Nail Size
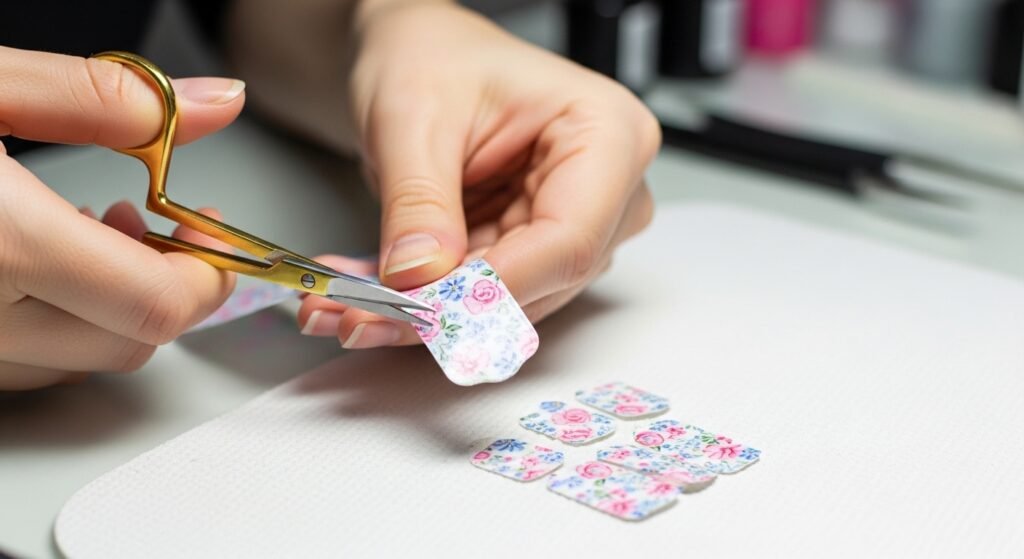
Unwind the sheet of polish and peel it off and cut the pieces to fit your nail size or bigger and smaller. To improve the look of the ultimate, however this small additional sides can be added later after being applied, in order to eliminate sizing errors.
Apply the Wraps

Put wraps round each nail and rub away. The technique causes the air bubbles to be expelled and give the fit. Wraps do not need to be stretched and can be placed with the help of tweezers.
Trim and Shape Edges

As soon as it is in place you can cut out any additional material with a nail file or small scissors. The nail can be pulled on the edge in a downward direction and this will provide the nail with a clear cut and will not provide the nail with a hold on attitude that will decrease the wear-life.
Seal with Top Coat
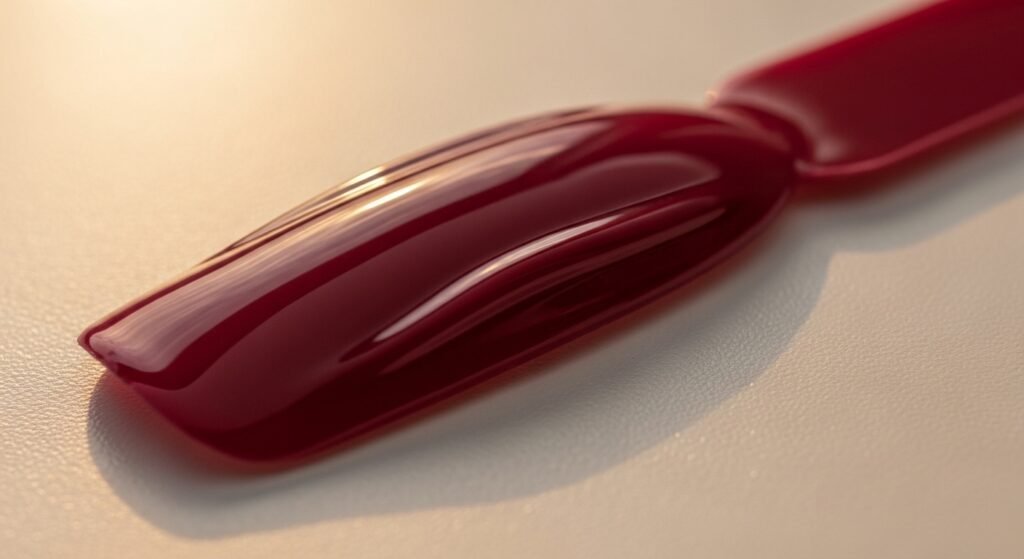
The wrap is fixed by applying a glossy or a matte coating at the top giving the wrap durability. This protective covering is also reflective, textural, smooth, and contains the edges of the wraps to give a more professional appearance.
Removal Made Simple
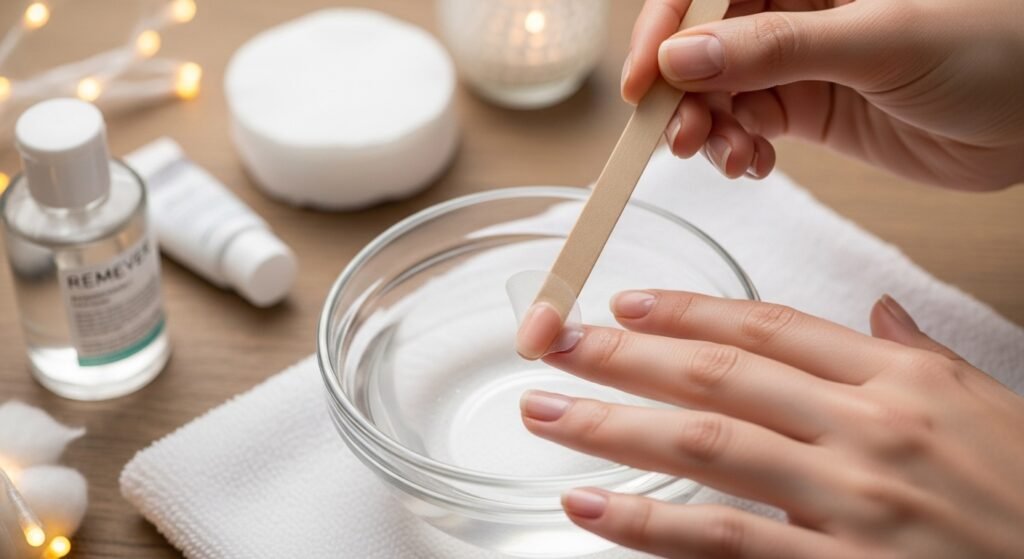
Nail wrapping DIYs are easy to remove as compared to gels and acrylics. to make wrap slide off, not scrape-scrape and scan too much, wet nails in a little Wet in a little water or use a common nail polish remover to loosen the wrap.